Add
- From the top toolbar select Settings.
- Under the Voice category, select Inboxes.
- Click the green Add Inbox button in the upper right corner.
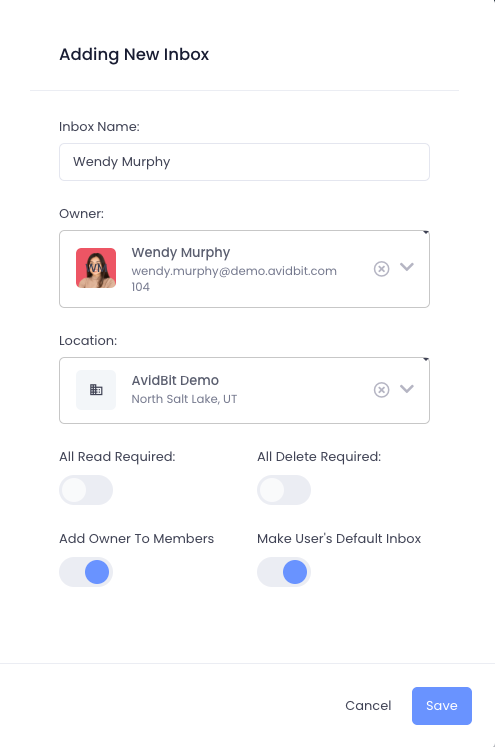
- Give the inbox a descriptive name.
- Select an owner from the drop down list. Every inbox needs an owner.
- If you toggled ‘Add Owner To Members’ to ON, a new toggle will become available named “Make User’s Default Inbox”. Toggling this ON will both add the user to the inbox as well as setting that as their default inbox. If it’s a shared group inbox, most of the time you will not want that to be the default inbox for anyone.
- Press Save.
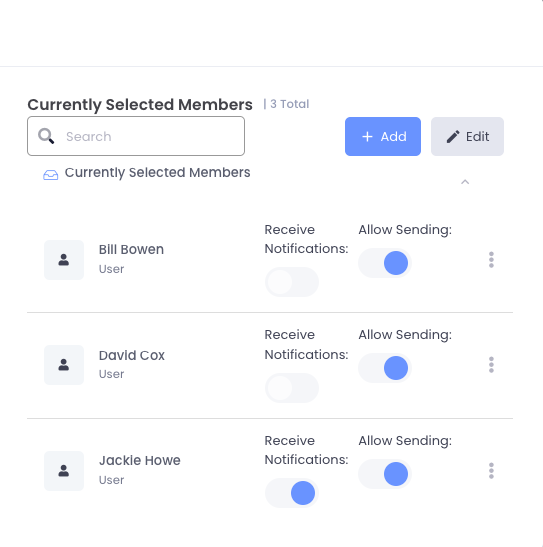
- Once the inbox has been created, you can add more members to it. Select the inbox you just created and click +Add under the ‘Currently Selected Members’ pane. This allows you to select additional users for that inbox as well as the ability to receive notifications, and the ability to use the number tied to the inbox as their Caller ID.
Remove
- From the top toolbar select Settings.
- Under the Voice category, select Inboxes.
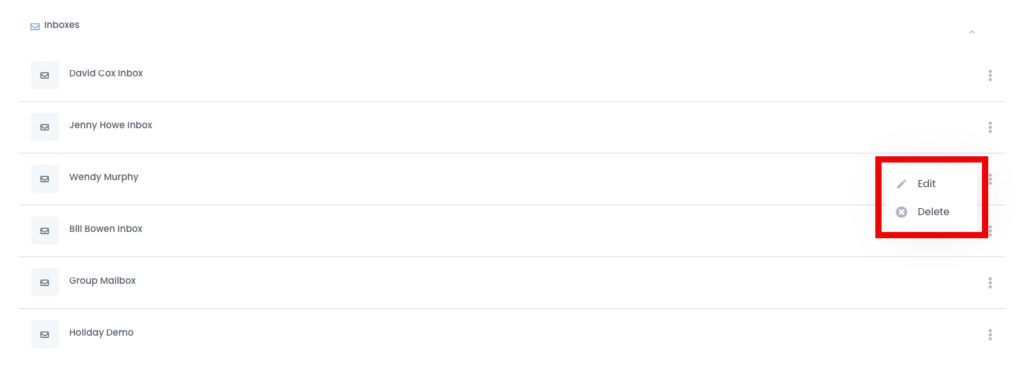
- Find the inbox you wish to remove.
- Click the three dots on the right side of the inbox name .
- Select Delete.
- A New dialogue box will open. Click OK.
- Inbox has been successfully deleted.
- You can also remove a member from an inbox by navigating to the Currently Selected Members section, click the three dots on the right side, and press Delete.