Scheduling a text from the Communicator
- Navigate to Apps -> Communicator.
- Either click into a current conversation with the intended recipient, or start a new message from the Quick Actions.
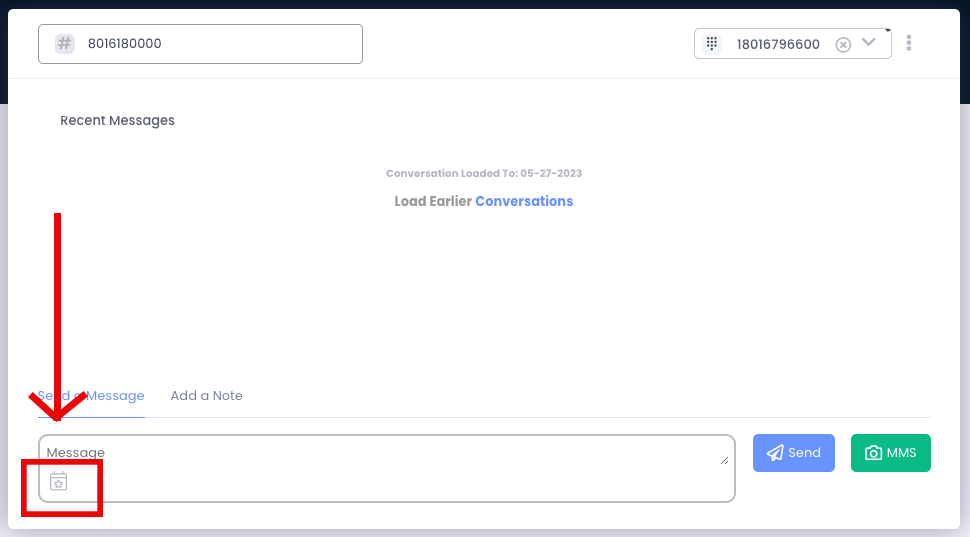
- In the Message field, click the calendar icon with a star in the middle.
- Enter in the information to send the text at, and turn on an optional Repeat toggle.
- Select Schedule SMS.
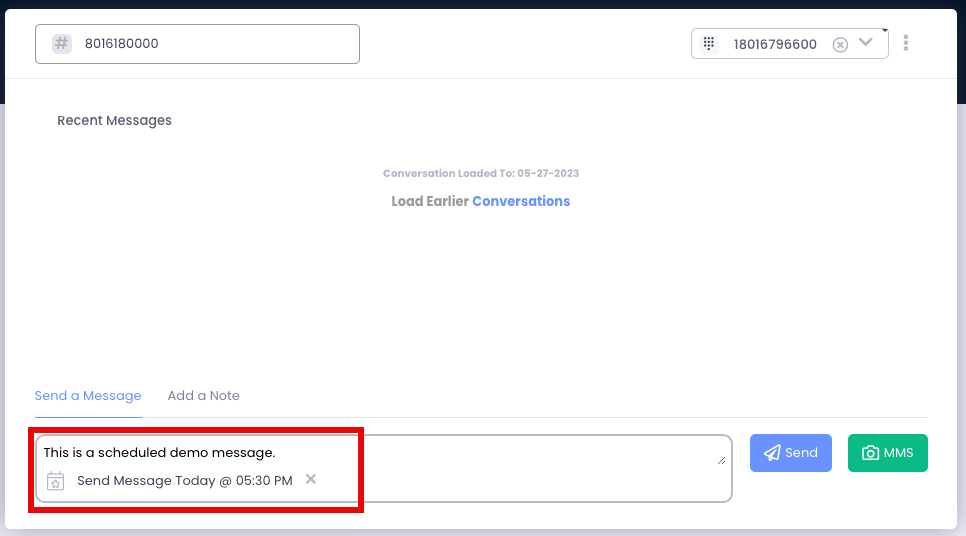
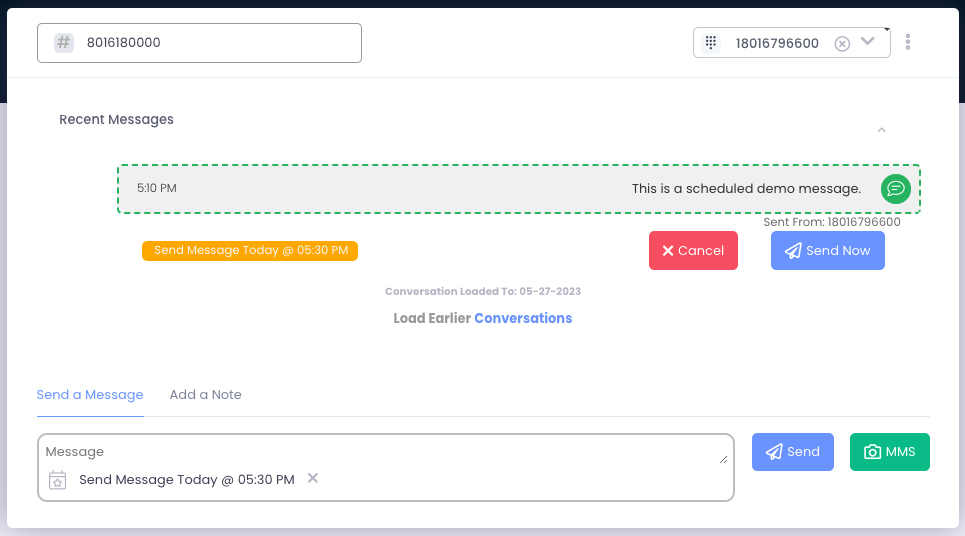
- Note the date and time that are attached in the message field.
- Once your message is typed, click Send.
- Once sent, the scheduled message will have a dotted green border around it as well as providing you the option to cancel or to manually trigger the text to send.
Setting up a texting campaign
- Navigate to Apps -> Scheduled Campaigns.
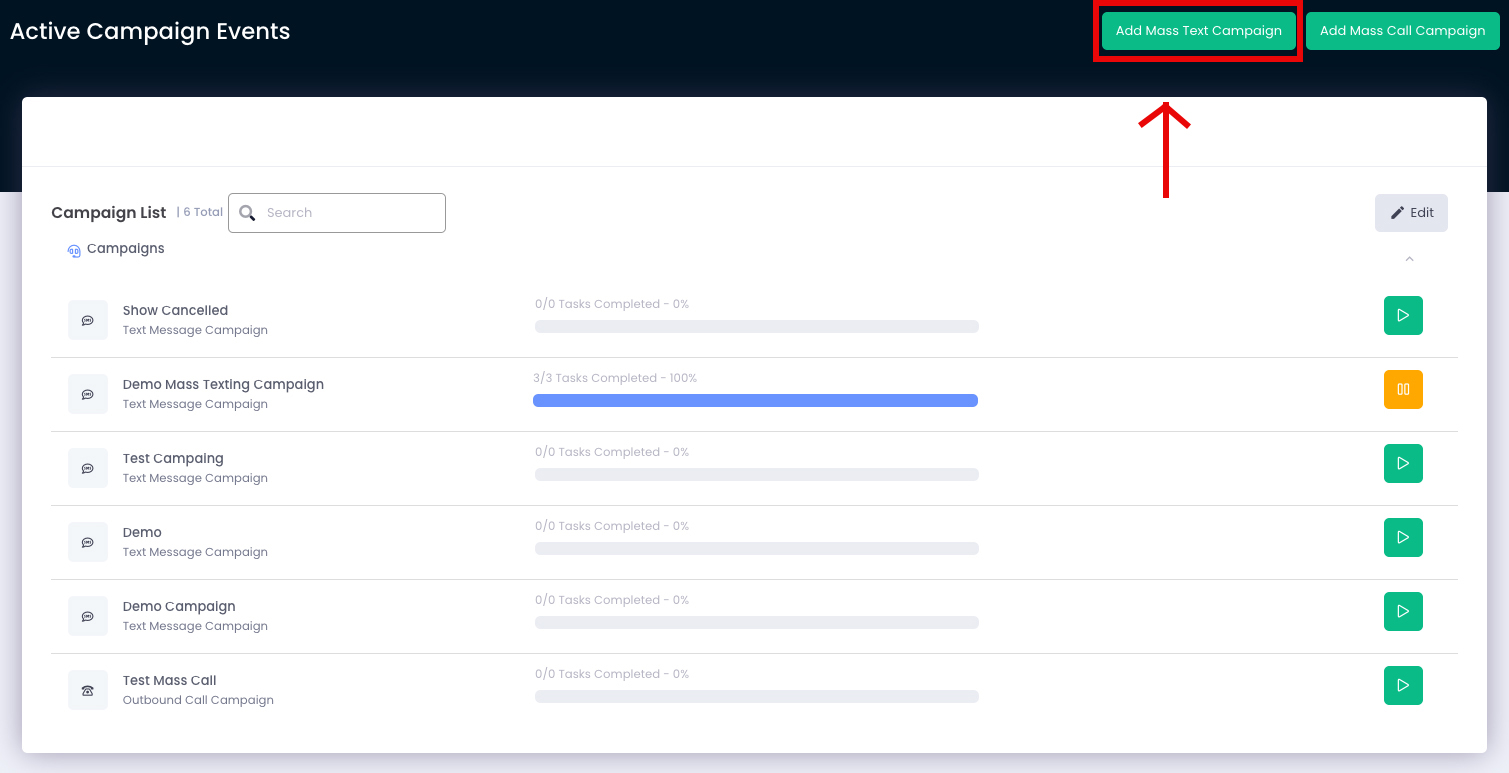
- Select Add Mass Text Campaign.
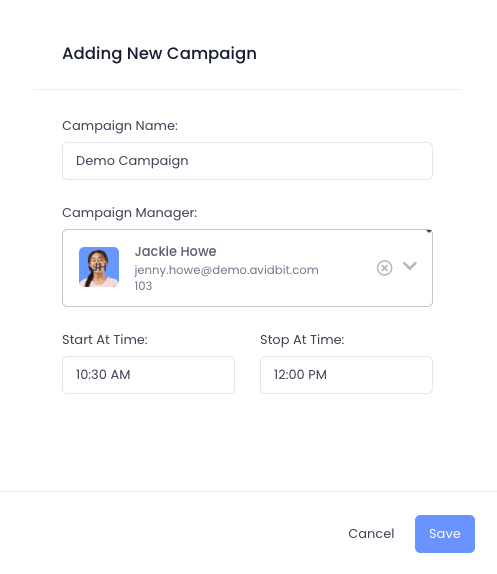
- Give the campaign a name, select yourself as the manager, and then pick a start and end time. If this is to be scheduled on another day, you will have that option in step 9.
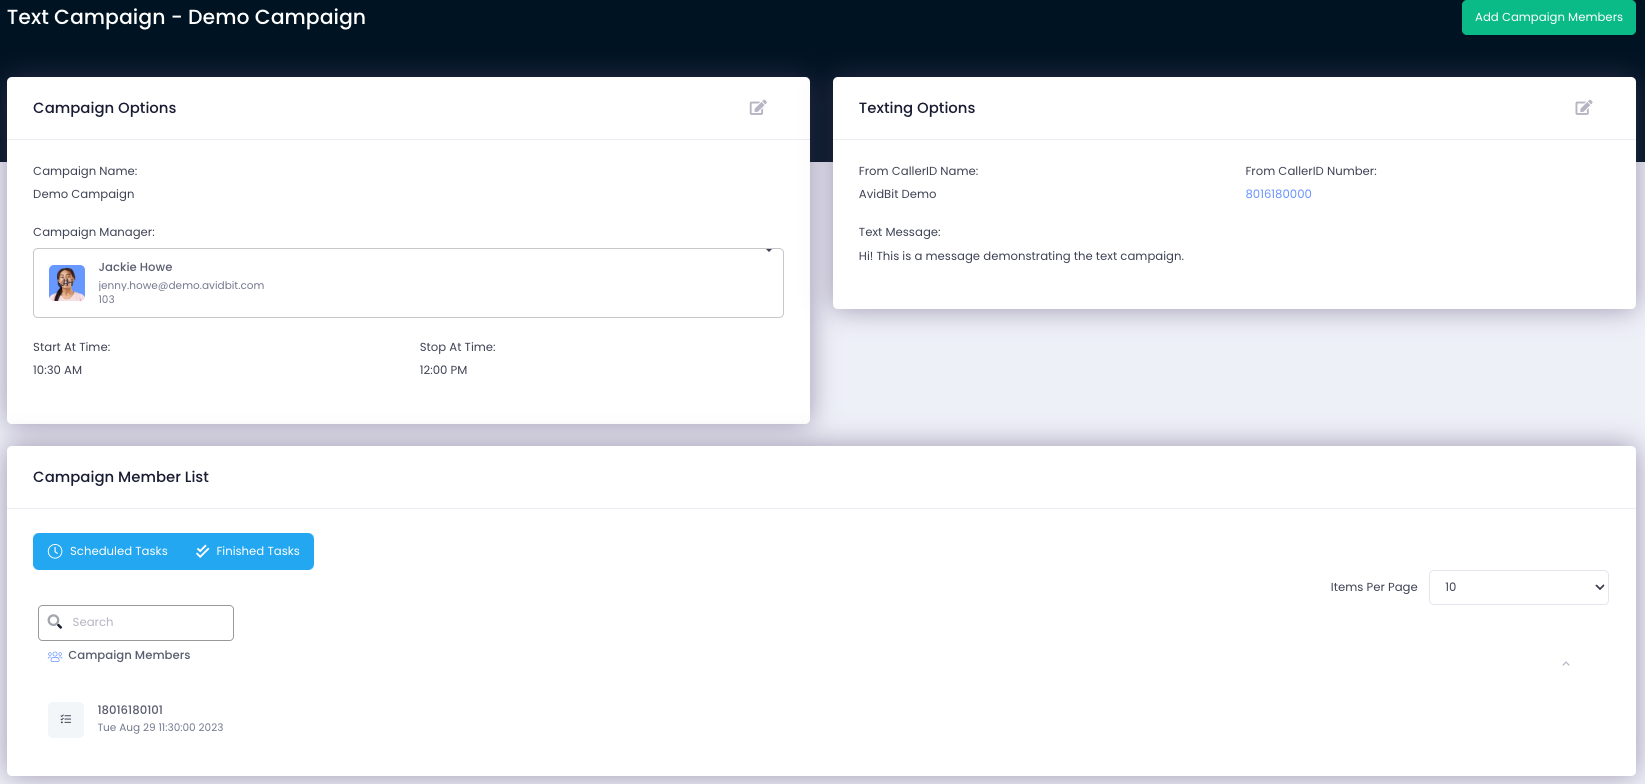
- Once created, click the campaign to see more details.
- In the ‘Texting Options’ pane, select the pen and pencil icon to edit.
- Fill out the following information:
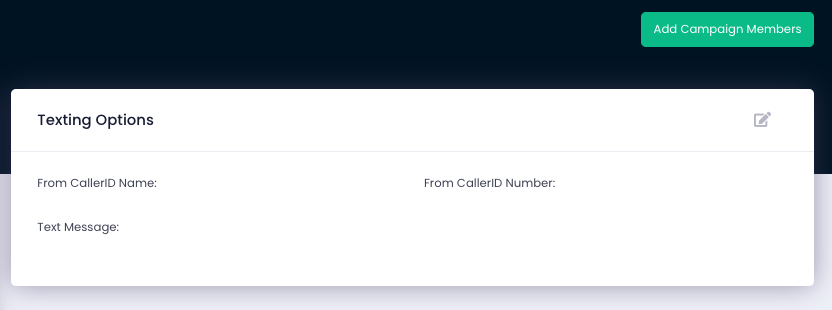
- From CallerID Name
- From CallerID Number
- Text Message
Enter in the name you wish to appear for your outgoing CallerID.
Enter the number you wish the text to be sent from. This must be a number that you already have. The number must also have texting capabilities to text from.
This is the message that will be sent. Note: There is a 150 character limit for the message.
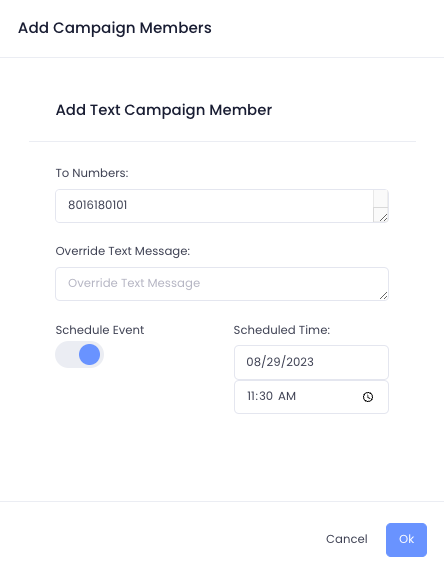
- Select Add Campaign Members in the top right corner.
- Enter in the numbers you wish to send the text to. The numbers need to be in a CSV format such as the following: 1234567890, 8015550000, 3850000000. The override text message is used if you wish to send a different message than what you typed early in the ‘Texting Options’ pane.
- If you wish to schedule this to be sent out on another day (by default it will send out on the day of creation), toggle ON ‘Schedule’. This will allow you to pick the date/time for when it will automatically be sent out.
- Press Ok. If your page hasn’t updated with members, right click and refresh to see the member list update.
- Once you are ready, navigate back to Apps -> Scheduled Campaigns.
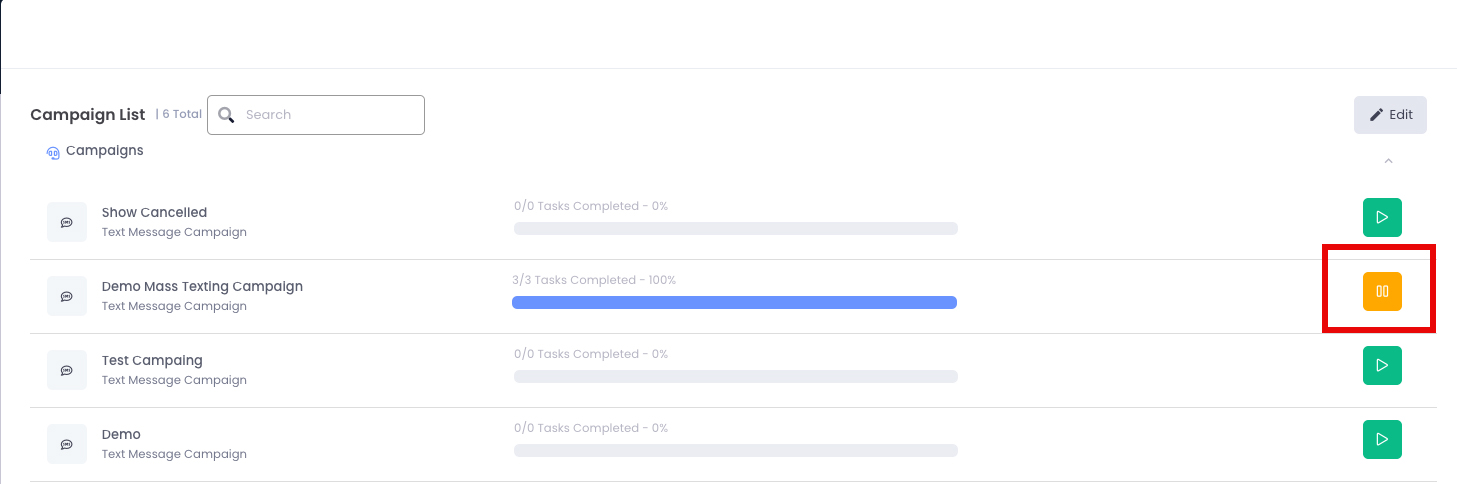
- Click the green play button next to the campaign to make it active. Once active, the texts will start to be sent out at the time you have selected. The play button must turn to a gold pause button. If not, the texts will never be sent out.